
The Hidden Chassis Dynamics Behind a Simple Sprocket Swap
Most riders evaluate a sprocket change through one familiar equation: acceleration versus top speed. A larger rear sprocket or smaller front sprocket increases the final-drive ratio, giving the engine more leverage at the rear wheel. A smaller rear sprocket or larger front sprocket does the opposite. That calculation matters, and fundamental explanations of bike gear ratios decoded provide a useful starting point for understanding mechanical advantage.
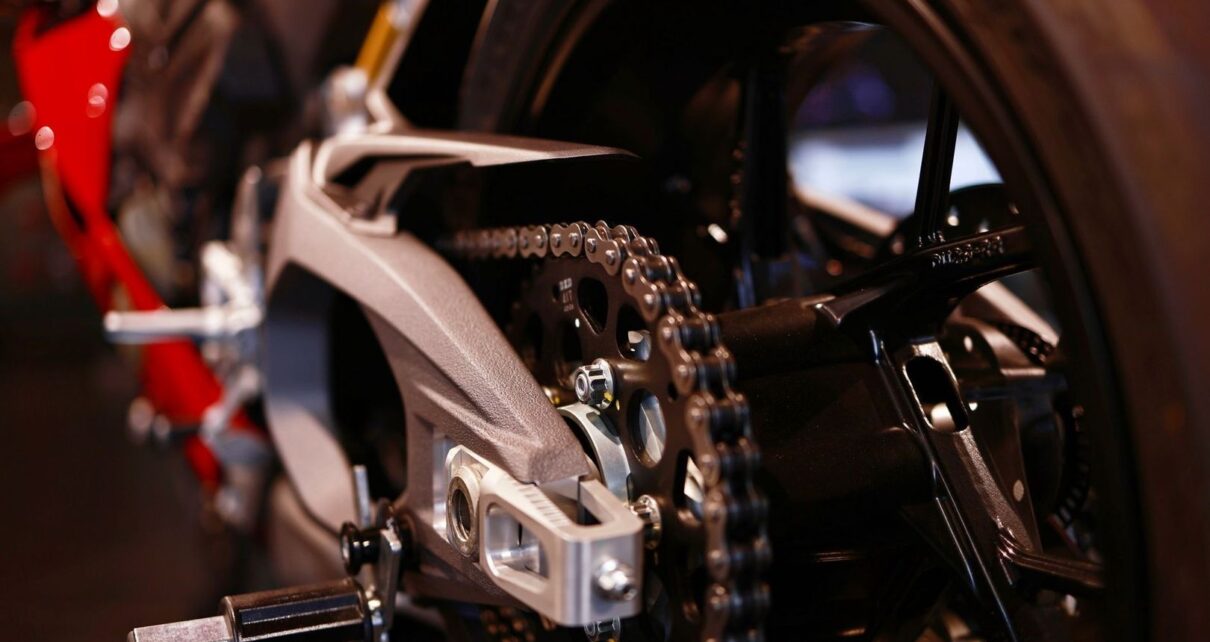
On a motorcycle, however, the sprockets do not operate in an abstract ratio chart. They occupy specific points in space, connected by a chain that runs across the swingarm. Change either sprocket and the top chain run changes its height, angle, and relationship to the swingarm pivot. At the same time, the rear axle may move within its adjustment slots, changing wheelbase and effective swingarm length. The result is a new force path through the chassis, even when the numerical ratio appears familiar.
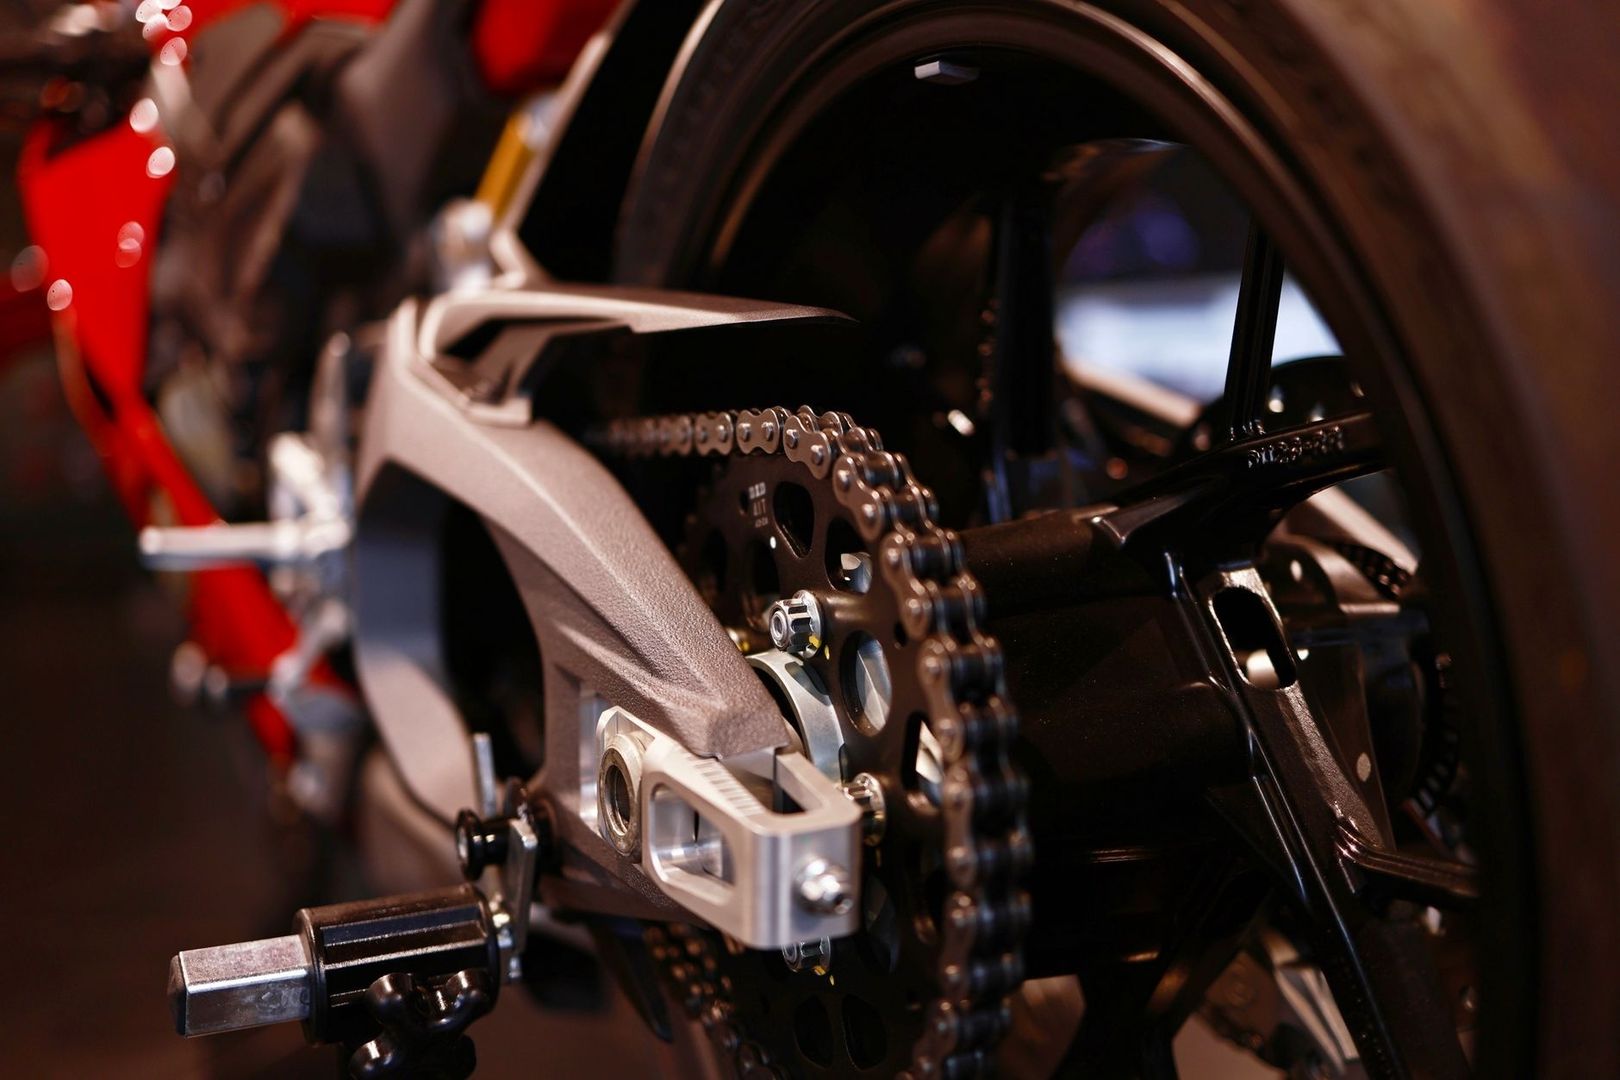
That is why two gearing combinations with the same ratio can produce noticeably different handling. Chain angle affects anti-squat, axle position affects leverage and ride height, and the combined changes influence rear-tire loading as throttle is applied. If the geometry moves away from the motorcycle”s baseline, the bike may squat too readily, resist suspension movement, pack down on corner exit, or run wide as drive builds. The correct gearing choice therefore has to be judged by traction, feedback, and chassis balance, not just by engine speed at the end of a straight.
The Geometry of Chain Pull and Pivot Dynamics
The upper run of the drive chain is the important section during acceleration. Engine torque tensions that span of chain, creating a force vector between the countershaft sprocket and the rear sprocket. Because the countershaft is mounted ahead of and usually above or below the swingarm pivot, the chain force does not simply rotate the rear wheel. It also applies a moment to the swingarm through the rear axle and pivot relationship.
The direction of that force depends on the position and diameter of both sprockets. A front sprocket with a different tooth count normally has a different pitch diameter. A smaller countershaft sprocket places the chain”s upper run closer to its centerline, which can materially alter the chain”s entry height at the front of the swingarm. The rear sprocket also changes the chain”s exit point at the axle. Those changes modify the angle between the chain pull line and the swingarm itself.
This is a chassis problem as much as a drivetrain problem. Research and engineering discussion around the interaction of propulsion, suspension movement, and chassis balance form part of the broader field of bicycle and motorcycle dynamics. For practical setup work, the key points are these:
- Chain tension: Higher drive torque creates greater tension in the upper chain span, increasing the suspension force associated with the chain line.
- Chain angle: A steeper angle relative to the swingarm generally increases the chain-induced anti-squat contribution, although the exact result depends on pivot height, axle location, and center-of-gravity position.
- Countershaft height: The front sprocket”s center and pitch diameter determine where the chain force enters the chassis.
- Rear axle location: Moving the axle changes the swingarm”s angle and the lever arm through which chain tension acts.
The rider feels these forces as changes in throttle response and rear suspension behavior. A bike with more chain-induced lift may feel supported and precise when the throttle opens, yet it can also become reluctant to absorb bumps. A bike with less anti-squat may gain mechanical grip over imperfect pavement, but it can settle deeper into its travel and alter steering attitude during a long corner. Neither direction is automatically better. The goal is a controlled balance that keeps the tire loaded without making the rear suspension harsh or inactive.
Anti-Squat Mechanics and Why Pitch Balance Shifts Under Throttle
Anti-squat percentage describes how strongly the drivetrain and chassis geometry resist the rear suspension”s tendency to compress under acceleration. As the motorcycle drives forward, rearward inertia transfers load toward the rear tire and compresses the suspension. At the same time, chain tension can create a lifting or extending force at the swingarm. Anti-squat is the relationship between those opposing effects, expressed as a percentage of the squat-producing acceleration force.
The number is not a universal target. A value that works on a smooth racing surface may be too aggressive on a bumpy street circuit. Tire construction, spring rate, damping, rider position, throttle application, and the motorcycle”s center of gravity all affect the result. Final-drive gearing changes the chain line, so it can shift the effective anti-squat behavior without any adjustment to the shock, linkage, or swingarm pivot.
Moving down one tooth on the front sprocket usually reduces its pitch diameter and can make the upper chain run steeper relative to the swingarm. That commonly increases the chain-induced anti-squat effect. The practical response may be a firmer-feeling rear end as power comes in, but the outcome must be checked on the specific motorcycle rather than assumed from the tooth count alone.
| Rider feedback | Possible geometry or setup direction | Useful checks |
|---|---|---|
| Rear end squats deeply and the bike runs wide on exit | Too little effective anti-squat, excessive rear ride-height change, or insufficient support | Inspect chain angle, axle position, shock sag, and rebound damping |
| Rear suspension feels packed down over corner-exit bumps | Too much anti-squat, excessive chain-induced lift, or damping that is too restrictive | Compare sprocket geometry with the baseline and check shock movement |
| Rear tire spins abruptly when throttle opens | Insufficient compliance, poor load transfer timing, or an overly aggressive power delivery | Evaluate tire condition, throttle mapping, compression damping, and anti-squat together |
| Steering becomes light as drive builds | Rear ride height or squat behavior has changed pitch balance | Measure axle position, static ride height, and front-end attitude |
For a track rider, the most useful diagnostic is not the sensation in isolation. Note when it occurs. If the motorcycle runs wide immediately as throttle is picked up, rear squat and steering geometry deserve attention. If the bike feels acceptable on smooth asphalt but skips across bumps while accelerating, excessive anti-squat or an over-restricted shock may be the issue. Record tire pressures, temperatures, gearing, suspension settings, and lap conditions before making another change.
Axle Slot Displacement and Wheelbase Alterations
A sprocket swap frequently requires adjustment of the rear axle because chain length and slack must be restored. Even when the same chain is retained, a different rear sprocket may place the axle in a different part of the swingarm slots. That displacement changes wheelbase directly. It also changes the swingarm”s angle relative to the chassis, which can alter rear ride height and the leverage relationship between the axle and shock linkage.
Moving the axle rearward generally lengthens wheelbase and increases effective swingarm length. The motorcycle may become more stable under acceleration, but steering response can slow slightly, depending on the amount of movement and the rest of the geometry. Moving the axle forward shortens the wheelbase and can make the bike turn more readily, while also changing the available traction balance and the swingarm”s working angle.
The axle does not travel in a straight vertical path. As it moves through the adjustment slot, its position relative to the pivot changes along the swingarm”s arc. That means static ride height can rise or fall even if the shock preload is untouched. A small axle movement may also alter chain slack at different points in suspension travel, so clearance and tension must be verified with the rear suspension loaded through its range.
- Measure wheelbase from the same reference points before and after the gearing change.
- Record the axle-block position on both sides and verify alignment with a reliable method.
- Measure rear ride height at a repeatable point, using the same rider sag procedure each time.
- Check chain slack at the tightest point in the suspension cycle, not only with the bike on a stand.
- Inspect the chain slider, upper guide, lower guide, and sprocket cover for signs of contact.
Effective swingarm length also influences the rear suspension”s leverage behavior. A longer working arm can make the rear tire feel calmer and can modify how suspension forces reach the shock. A shorter arm may sharpen response but can make the motorcycle more sensitive to throttle and surface changes. These effects are not captured by the final-drive ratio alone, which is why an axle measurement belongs on the setup sheet every time gearing changes.
Tuning Matrix for Common Sprocket Configurations
Consider 15/45 and 14/42 combinations. Both produce a numerical final-drive ratio of 3.00, so the engine speed for a given road speed is theoretically the same, assuming comparable tire circumference and transmission gearing. They are not geometrically identical. The 14-tooth front sprocket has a smaller pitch diameter than the 15-tooth unit, while the 42-tooth rear sprocket is smaller than the 45-tooth rear sprocket. The chain therefore follows different paths around the drivetrain.
The smaller front sprocket can create a sharper chain angle as the chain leaves the countershaft and approaches the rear sprocket. Depending on the motorcycle”s pivot and axle locations, that can increase anti-squat and concentrate chain contact around the front slider. It may also increase polygonal action, the small speed variation created as the chain articulates around a smaller sprocket. The effect is not always dramatic, but high-load track use can reveal it through noise, vibration, or accelerated slider wear.
| Configuration | Numerical ratio | Likely geometry consideration | Inspection priority |
|---|---|---|---|
| 15/45 | 3.00 | Larger countershaft and rear sprockets can provide a different, often less abrupt chain path | Confirm axle position, slack, and baseline swingarm angle |
| 14/42 | 3.00 | Smaller countershaft sprocket may steepen chain entry and increase slider loading | Check chain guide clearance, slider wear, and anti-squat response |
| 15/47 | 3.13 | More drive leverage with rear axle position dependent on chain length and adjustment range | Measure wheelbase and rear ride height after installation |
| 16/44 | 2.75 | Taller gearing with a larger countershaft sprocket and potentially a different chain line | Check acceleration response and whether the engine remains in its useful range |
Use a repeatable process rather than changing several variables at once:
- Record the original front and rear tooth counts, wheelbase, axle position, rear ride height, chain slack, and swingarm angle.
- Install the new sprockets and adjust the axle evenly, preserving alignment and the manufacturer”s torque requirements.
- Measure the new geometry before changing shock preload, damping, ride height, or linkage settings.
- Inspect the chain guide and slider throughout the suspension stroke, then perform controlled testing with tire and suspension data recorded.
Chain guide clearance deserves special attention with small front sprockets and large rear sprockets. A sharper chain path can increase rubbing at the front guide or slider, particularly when the suspension compresses and the chain line moves relative to the swingarm. A worn slider can expose the swingarm to damage and can also create misleading handling symptoms through added friction and inconsistent chain motion. Replace damaged wear parts before interpreting suspension feedback.
For precise setup, establish a baseline swingarm angle with the motorcycle in a defined condition, such as unloaded, at static sag, and at rider sag. A digital angle finder can be useful if the same flat reference and measurement surface are used every time. The exact angle is less important than repeatability. Once the gearing change is installed, compare the new measurement and separate the effects of chain angle from the effects of axle displacement.
Dial In Your Chassis Geometry for Real World Performance
Final-drive gearing is a chassis adjustment disguised as a drivetrain adjustment. The tooth count changes engine leverage, but it can also move the chain force vector, alter anti-squat, shift the rear axle, change wheelbase, and modify the effective swingarm angle. Those changes influence whether the rear tire stays planted, whether the shock can absorb corner-exit bumps, and whether the motorcycle holds its line as power builds.
Before turning an axle adjuster, establish a disciplined measurement routine. Photograph the axle blocks, mark reference points, record wheelbase and rear ride height, and measure chain slack through the suspension”s working range. Then test one configuration at a time. A gearing choice that delivers the desired engine response may still need a corresponding correction in ride height, damping, or chain length to preserve the chassis balance that gives the rider confidence.
- Choose gearing for the circuit or road, but evaluate the entire chain path.
- Keep a written baseline for wheelbase, swingarm angle, ride height, and axle position.
- Use rider feedback to identify whether the rear is squatting, lifting, packing, or losing compliance.
- Inspect wear components after every significant gearing change.
- Prioritize predictable traction and control over a purely aggressive acceleration feel.
When gearing, suspension, tires, and rider input are treated as one system, sprocket changes become a precise tuning tool rather than a trial-and-error shortcut. The fastest setup is rarely the one with the most dramatic reaction. It is the one that lets the rear tire drive cleanly, keeps the chassis balanced through the corner, and gives the rider enough feedback to open the throttle with precision.